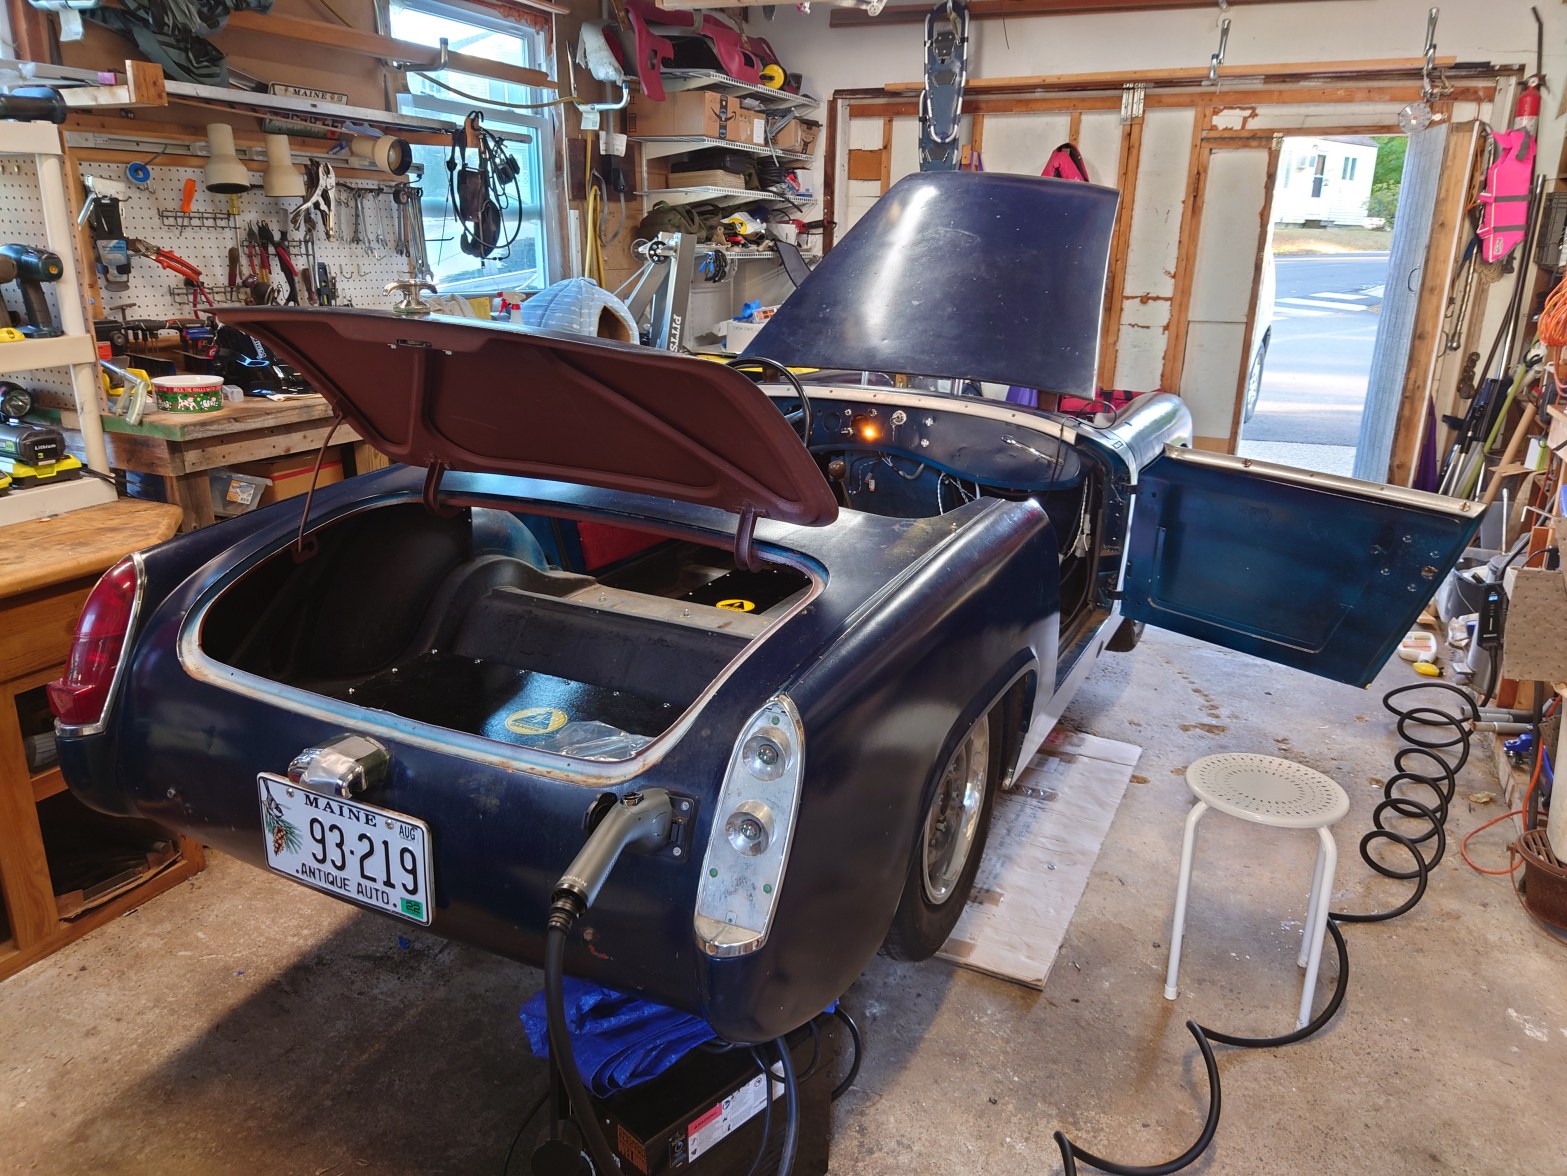
Progress has come a lot faster recently. I’m already moving past the first charge into troubleshooting the motor controller for that first spin-up. I’m anxiously anticipating the completion of this project before I have to put it away for the New England winter!
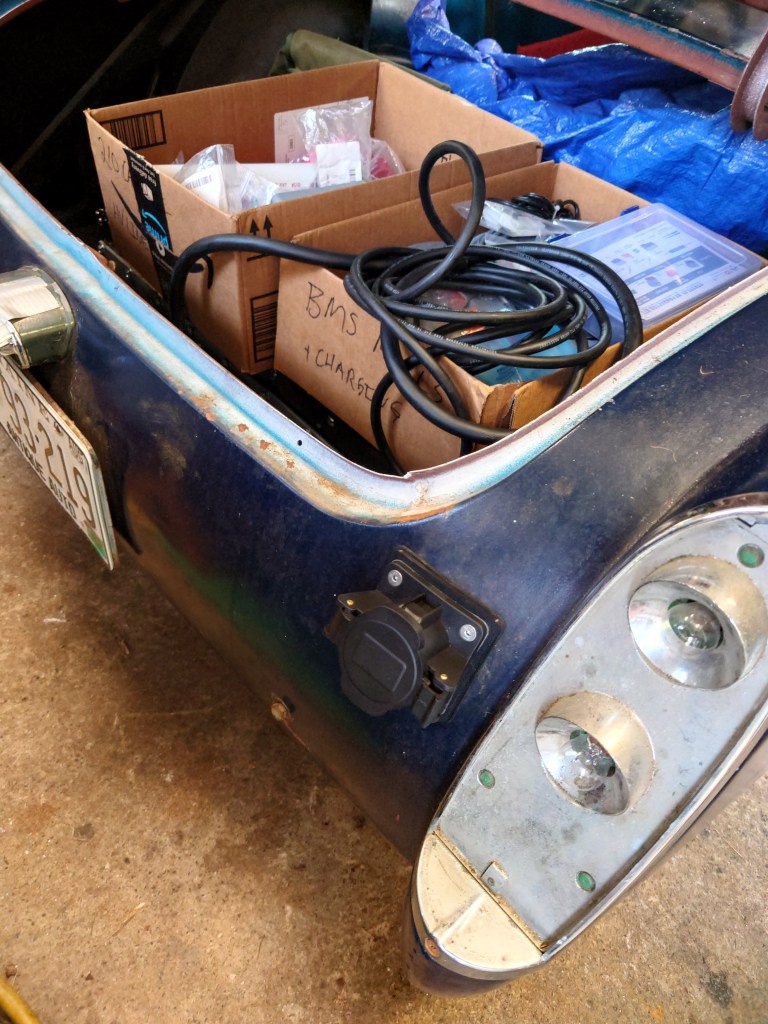
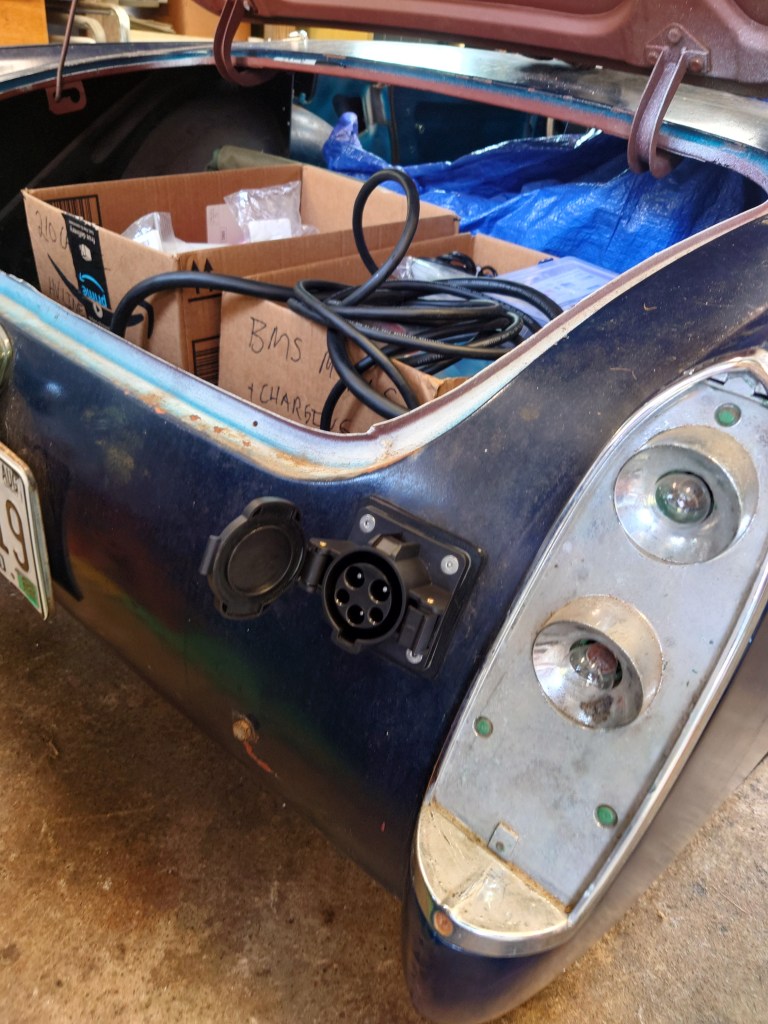
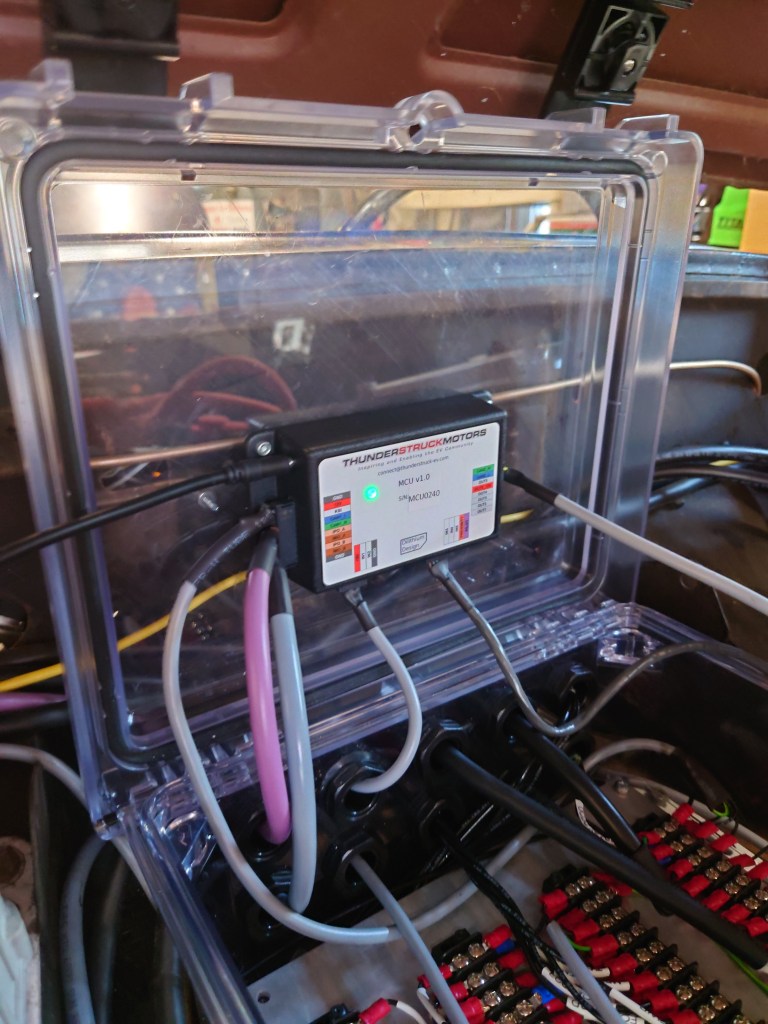
J1772 socket
To charge the car I thought it best to use the standard J1772. I wired it up and ran the cables to the MCU for pilot and proximity detection, and the line power directly to the TSM2500 from Thunderstruck EV.

TSM2500 setup
The TSM2500 was super easy to set up. I’ve just been so pleased with all of Thunderstruck EV’s parts and pieces. They have also been very responsive to questions and contact, and I appreciate that too. But, simple connects led from the charger to the battery, from the J1172 to the charger, and communications via CAN between the MCU and the TSM2500.
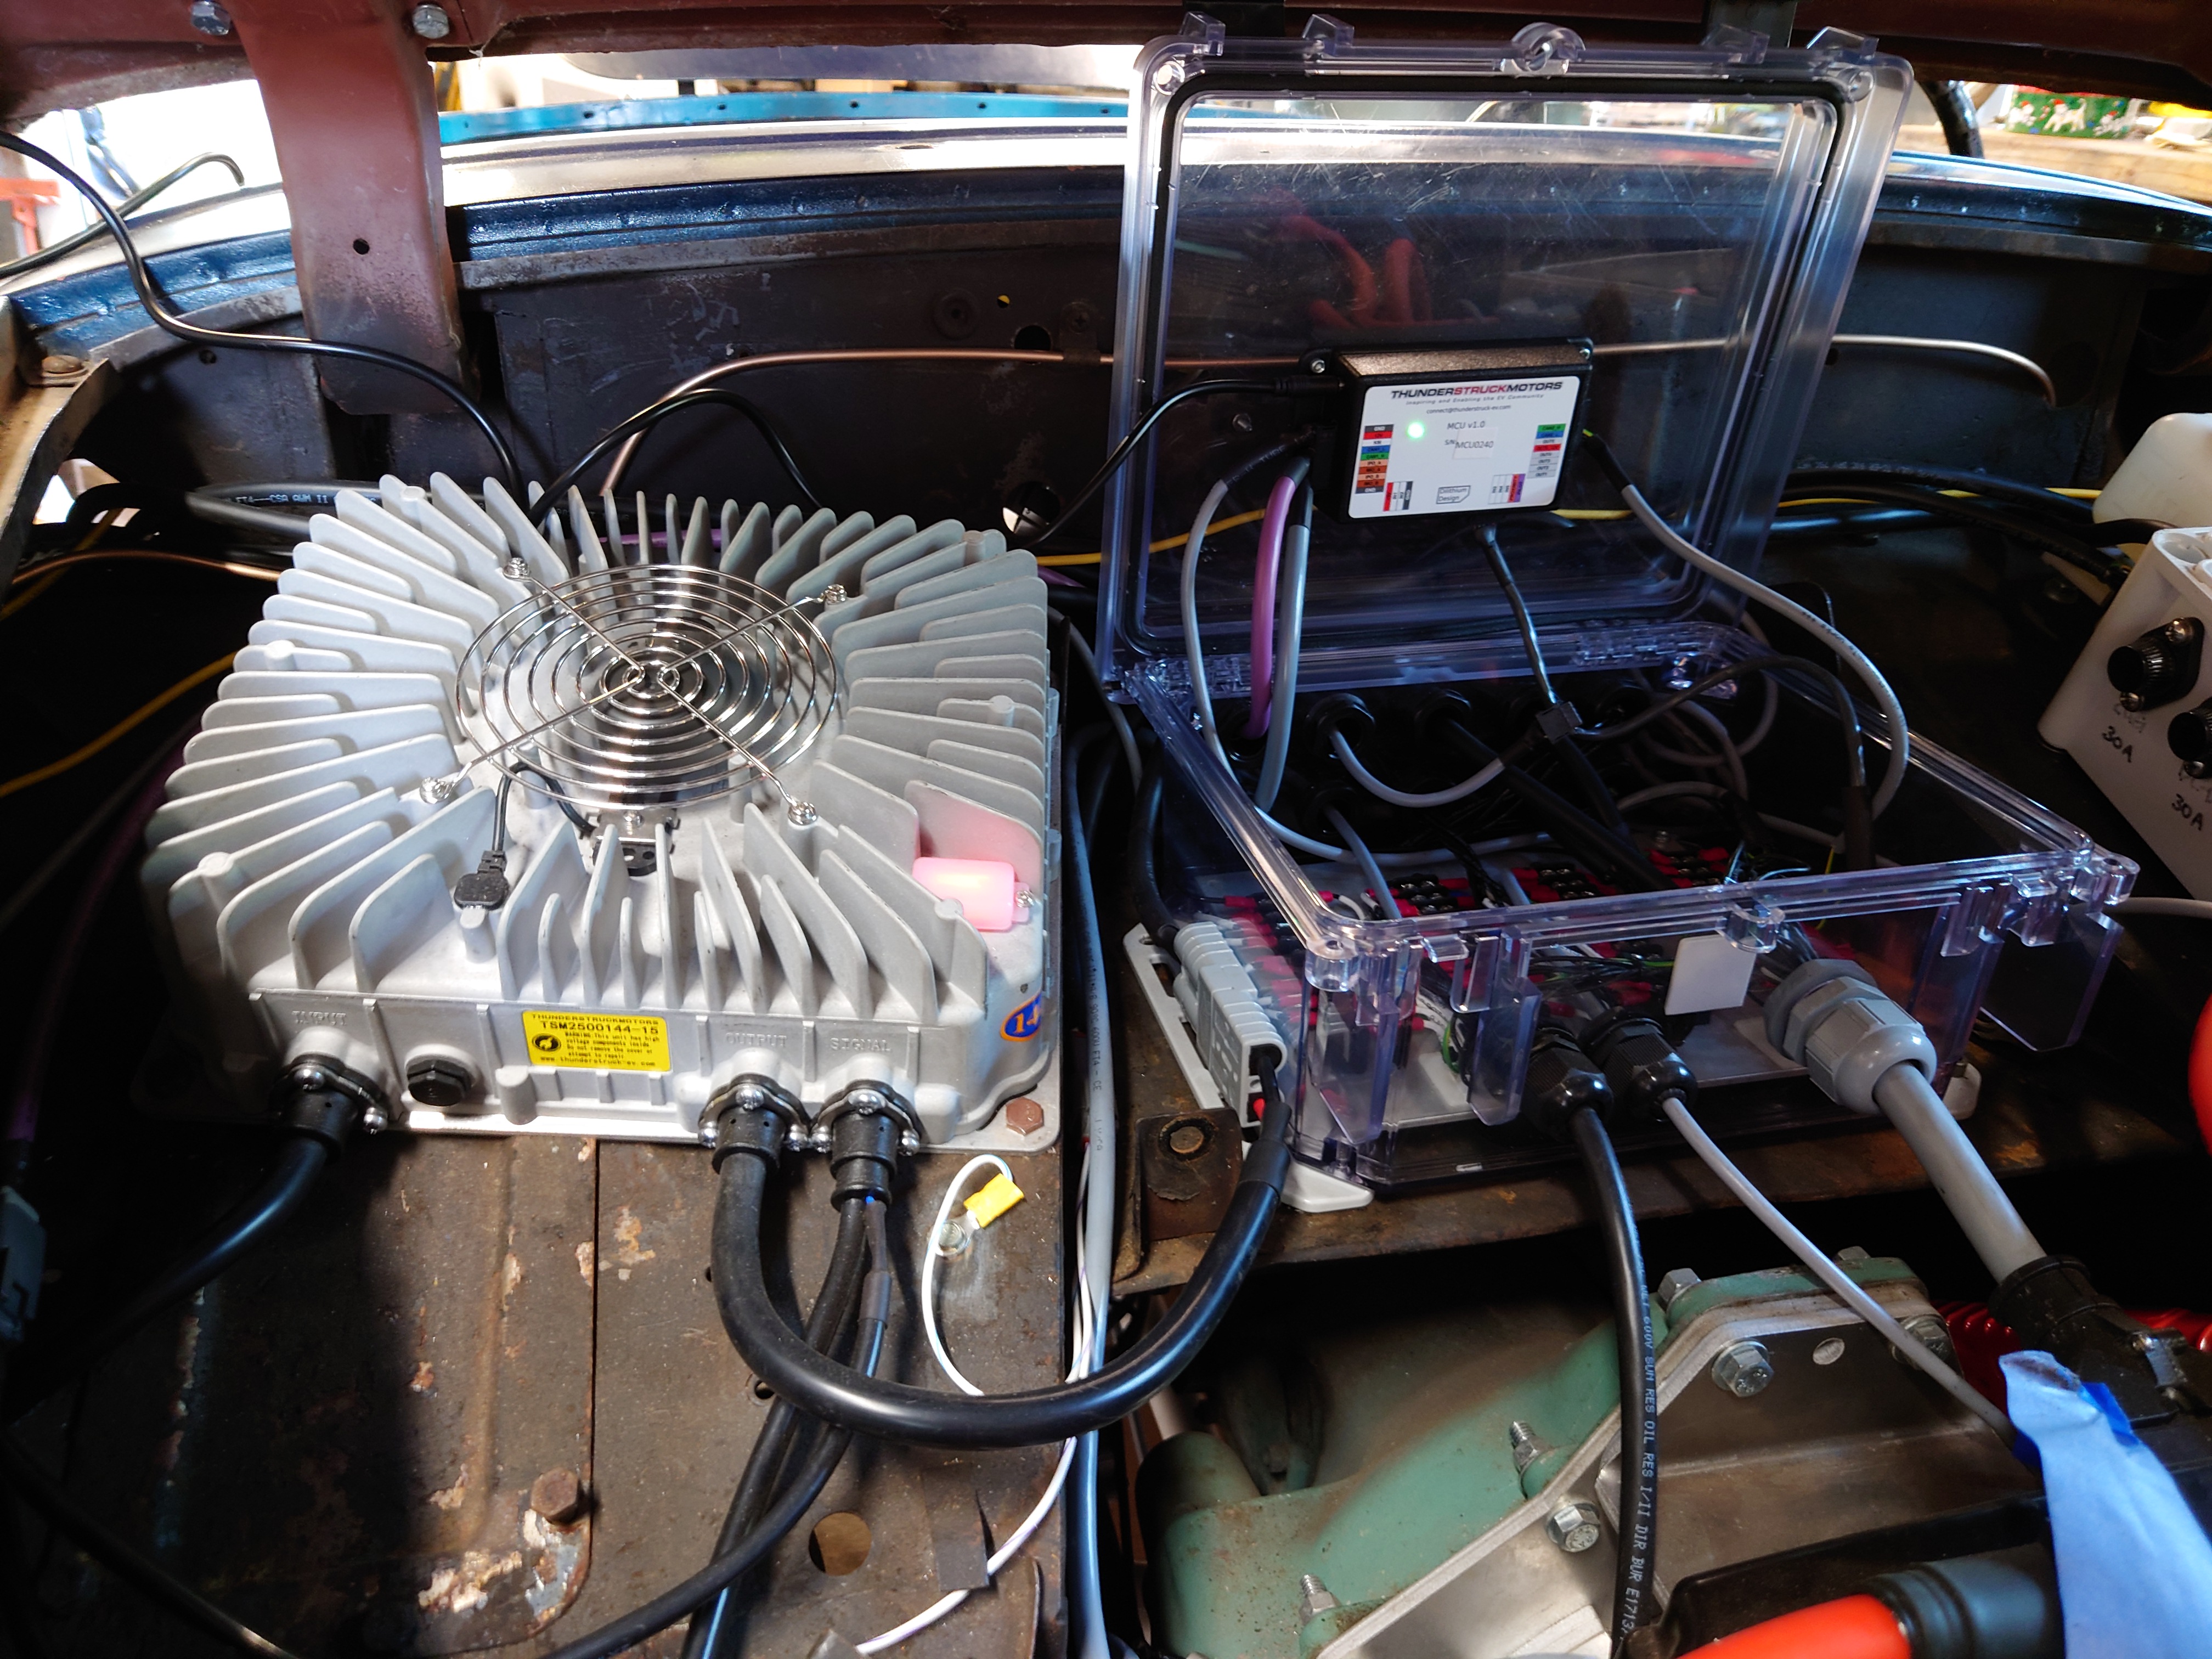
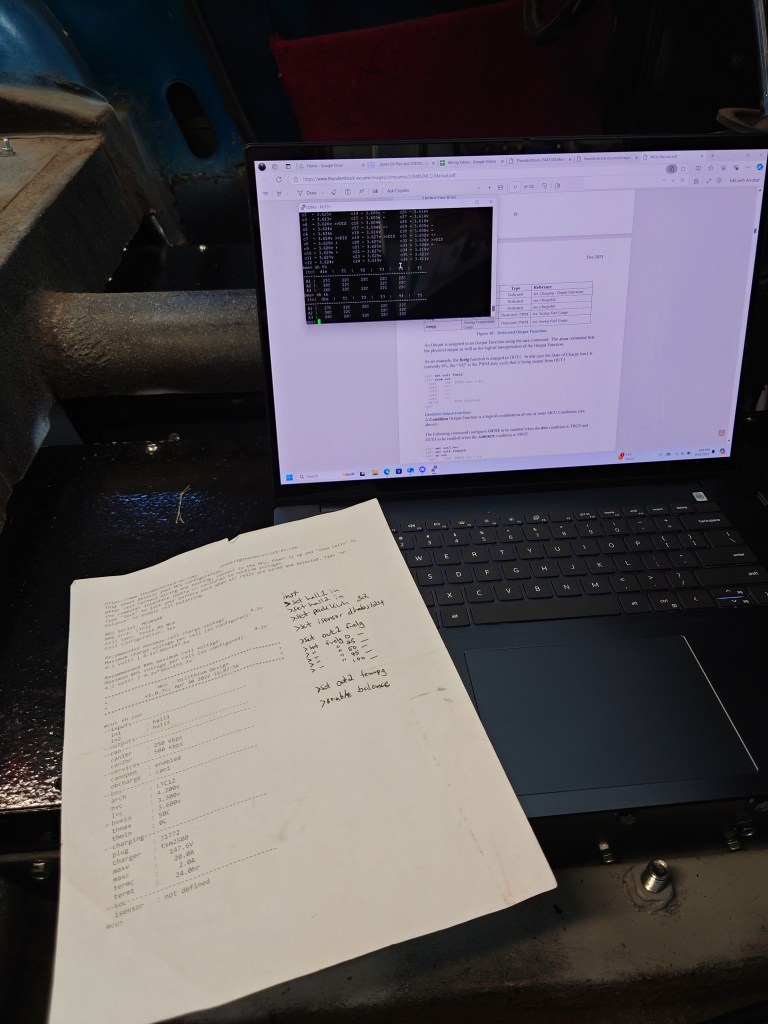
BMS setup
When I finally started communicating with the BMS, I was overjoyed. It was a powerful moment where all the minute details, hundreds of connectors and connections, and thousands of moments of worry paid off.

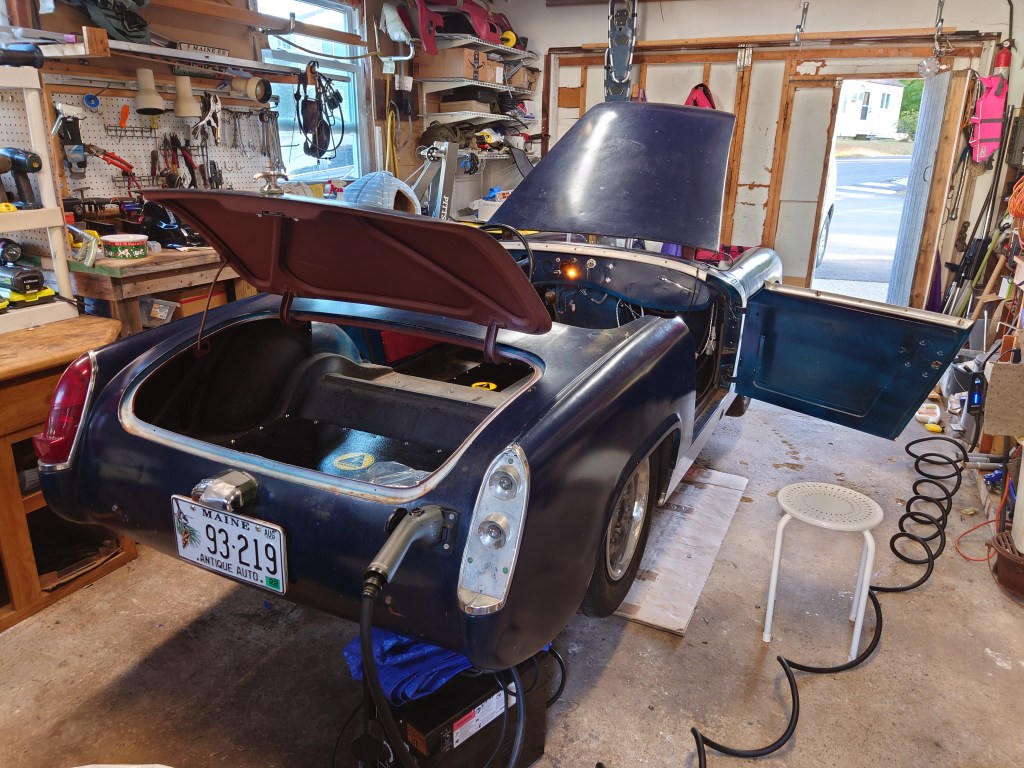
First charge and cell balancing!
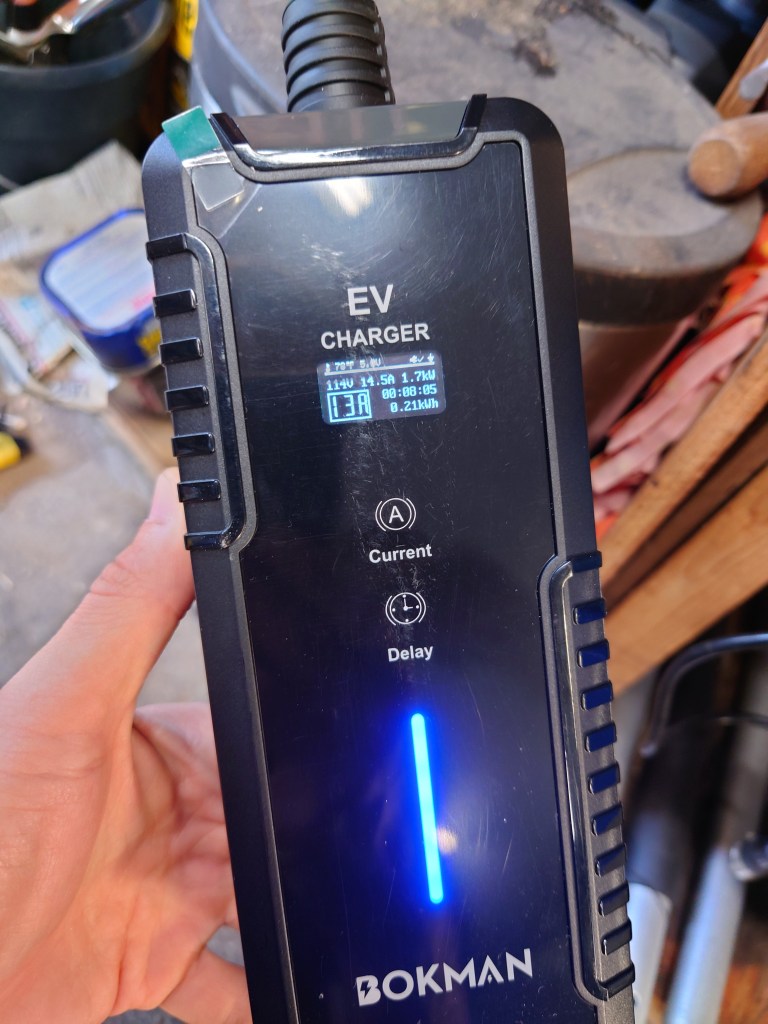
BAM the first charge! I took it slow at first, and trickled in energy from a standard 120VAC outlet. I did this a few times, and enabled charging, and was able to see that everything was working as expected. Nothing was on fire, or smelled, or was reading erroneously. I finally mustered up the courage to connect the car to 240VAC, and found it to be just fantastic. The car charged rapidly from the storage charge it was on to full. I still haven’t done a top-balance, due to going on a work trip, but when I have time to babysit the car I will. That is something else to note. While I was charging it at full power, I felt like I just had to be there all the time. I did a little run around the neighborhood while I waited, and was so stressed thinking about if anything was going wrong. I spent almost the whole evening sitting there watching cell voltages, and thermistor readings. But, great success!

Thermistor nonsense (high dies?)
One issue I did have early on was that the on-die thermistors for the cell-balancing were getting very hot. All of them approached 50C, I think topping out at 48C. This stopped my charge on occasion. However, the batteries, even though not being water-cooled, did not exceed 4 degrees C above ambient, which was acceptable to me.
Curtis 1239e Motor Controller issues?
I thought after charging that I would be able to transition right into testing the motor, however I found quickly that my pre-charge circuit was not working, which led to my main contactor not firing. I verified my wiring was to plan, and that my junction box was correct, so I finally reached out to HPEVs and found out an awesome bit of information. I bought the AC-35 motor and 1239e motor controller on eBay from a Canadian auction. This is a known problem! The software flashed onto the Curtis controllers from this liquidated batch of motors and controllers are specifically programmed for their purpose. It is not in a generic setup! The folks at HPEVs were very helpful, and I shipped my controller to them to have it programmed. I don’t know if this is something I could do myself, maybe someday, but having an expert work on multi-thousand-dollar equipment just sounds right to me.
Next steps
Next, I’m going to button up all the various parts and pieces that I’ve let hang during assembly. For example, all of the BMS and HV wires are hanging below the vehicle. They need to be wrapped and affixed to protect them. In the engine bay the same thing but for different wires. I need to wrap them and put bumpers on all the holes in the chassis that they pass through, or else vibration will cut into the cable jackets.
Additionally, I’ve got the windshield and bumpers that need to go on, and some seats eventually. I think to get it on the road I’ll use something simple and small, but we’ll see! 🙂
